
A Beginner's Guide to Crafting Homemade Soap
- Odette Handley

- Apr 22, 2025
- 4 min read
Updated: Apr 24, 2025
Making your own soap at home is not just a fun hobby, but it also allows you to create customized products that are perfect for your skin. The process can seem daunting at first, especially for beginners, but with the right guidance, you'll find it enjoyable and fulfilling. In this guide, we will explore the basics of crafting homemade soap, from understanding the materials needed to mastering the simplest techniques.
Why Choose Homemade Soap?
Homemade soap offers several benefits compared to commercial products. Firstly, you have full control over the ingredients. Many commercial soaps contain harsh chemicals, preservatives, and synthetic fragrances that can irritate the skin. By creating your own soap, you can use natural oils, scents, and additives that are beneficial for your skin.
Furthermore, homemade soap can be personalized. Do you prefer lavender over citrus? Or perhaps oatmeal with honey for gentle exfoliation? The possibilities are endless. It can be a unique gift for loved ones, adding a personal touch that store-bought items often lack.

Getting Started with Homemade Soap
Before diving into the soap-making process, let's cover the essential materials needed. The ingredients play a crucial role in the quality and effectiveness of your soap. For the basic process of homemade soap making, you'll need two primary components: fats and lye (NaOH).
Here are some common fats used in soap making:
Olive oil
Coconut oil
Shea butter
Palm oil
Lye is sodium hydroxide, which is necessary for the saponification process, you cannot make soap without it – this is the chemical reaction that occurs between fats and lye, resulting in soap.
When choosing your ingredients, consider the properties each oil offers. For instance, coconut oil produces a hard, cleansing bar, while olive oil creates a gentle, moisturizing soap that will be softer than most bars.
What are the raw materials for making soap?
To start making your own soap, here are the raw materials you will need:
Lye: Essential for soap making as it reacts with oils. Always handle with care.
Oils/Fats: You can mix different oils to achieve your desired texture and scent. As mentioned earlier, popular oils include:
Olive oil
Coconut oil
Sunflower oil
Water: Used to dissolve lye. Distilled water is recommended for purity.
Fragrance (optional): Essential oils or fragrance oils for scent.
Colorants (optional): Natural color options include clays and herbs.
Once you gather these components, you can experiment by combining various oils and scents to create your customized soap.

The Soap-Making Process: Step-by-Step
Creating homemade soap requires a methodical approach. Here’s a step-by-step guide to help you through the process:
1. Safety First
Before you begin, ensure you have proper safety gear. Wear gloves and goggles to protect yourself from lye burns. Perform the soap-making process in a well-ventilated space.
2. Measure Ingredients
Accurate measurements are crucial. Use a digital scale for measuring oils and lye carefully. A common beginner's recipe uses 1600g of oils and about 251g of NaOH, depending on the oil types and 630g of water.
3. Mix Lye and Water
In a safe container, carefully mix lye into distilled water while stirring gently. Always add NaOH to the water, never the other way around. The mixture will heat up; let it cool to around 30-35 °C before proceeding.
4. Prepare Oils
While the lye solution cools, measure and heat your oils in a separate pot until they reach around 30-35 °C
5. Combine Lye and Oils
Once both the lye solution and oils are at the right temperature, slowly pour the lye into the oils while mixing. Stir until the mixture reaches "trace," a state where it forms a light trail across the surface.
6. Add Fragrance and Color
Before pouring the soap into molds, you can add your essential oils for aroma and any colorants if desired. Mix well to incorporate everything evenly.
7. Pour into Molds
Carefully pour the soap mixture into mold containers. Choose silicone molds or wooden boxes lined with parchment paper for easy removal.
8. Insulate and Cure
Let the soap sit undisturbed for around 24 hours to saponify. After that time, remove the soap from molds and cut into bars. Allow the bars to cure for about 4-6 weeks before using them. This period lets the lye fully neutralize.

Tips for Success in Soap Making
As a beginner, there are several tips you can keep in mind to ensure successful soap making:
Start simple: Choose beginner-friendly recipes that require fewer ingredients and steps.
Keep notes: Document each step and any adjustments made to recipes. This helps with consistency in the future.
Experiment slowly: Once you're comfortable, begin experimenting with different oils, scents, and additives.
Patience pays off: Allow the soap to cure fully. Rushing this step can result in a product that is too harsh on the skin.
Join a community: Consider joining local or online soap-making groups for tips, feedback, and support.
Enjoying Your Homemade Soap
After weeks of anticipation, it’s finally time to enjoy your homemade soap. The joy of using a product crafted by your own hands is unparalleled. You will appreciate not only the quality but also the scent and texture you selected and created. Plus, you can share your creations with friends and family.
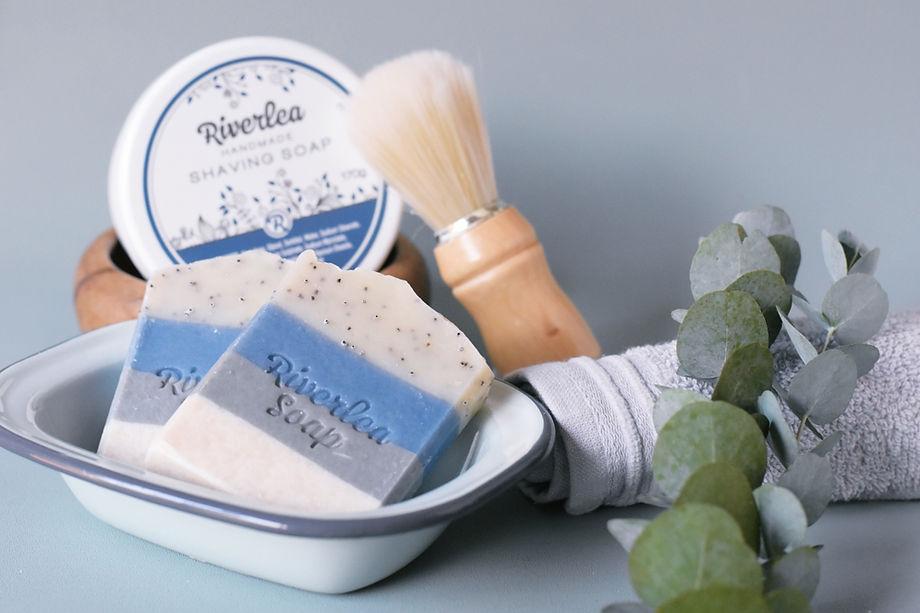
If you're looking for inspiration and high-quality soap making ingredients, I recommend checking out Riverlea Soap for a wide selection.
Create with Confidence
Now that you have all the basic knowledge and steps to create homemade soap, you’re ready to start your soap-making journey. Enjoy the process, be patient, and don’t be afraid to explore different recipes. It might just become a favorite hobby—or even a business venture. Happy crafting!
See our website for a free recipe


Comments